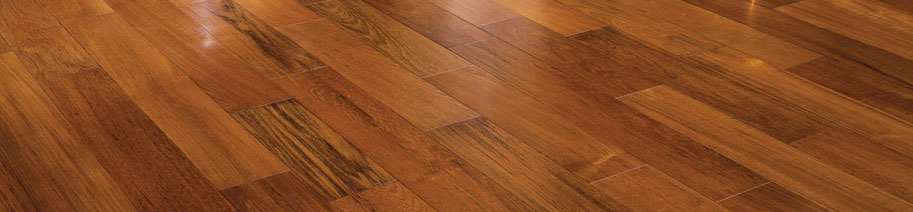
Wood floor sanding
Over time, wood floors can experience a buildup of oil, dirt and grime which can lead to
a greying of the wood and an overall tired and worn appearance. When this happens, it is
important to re-finish the floor which will restore it to its former glory. The process
of sanding a wooden floor involves cleaning, sanding and staining. For most floors, that
see constant footfall and wear and tear, this process need to be carried out every two
to three years. For less used floors it can be longer.
Wood sanding is the process of removing the existing coating layers and stain down to
the bare wood using sanding machines. It can be used to change the color of the wood in
addition to giving it a new lease of life. Done properly it will also remove gouges,
scratches, scuffs and other signs of wear and tear that buffing won’t remove.
The first step in sanding the floor is to determine if the floor is thick enough to
withstand a complete refinishing. The estimator will check for signs of previous sanding
jobs, exposed nails and openings that can reveal the thickness of the floor. The
condition of the wood will determine the number of times the floor needs to be sanded to
achieve the desired quality.
Sanding begins with a rough sanding paper that will remove all the main imperfections.
This is then followed by one or two finer grits which are necessary for smoothing the
surface. After the initial sanding, buffing the floor is required to remove the sanding
marks.
In some cases, wood filler will be used to cover spaces between boards. The wood filler
will be applied before and during the refinishing process but it is only recommended on
floors that are installed on hard surfaces. If the floor doesn’t have a solid
subfloor, the movement of the floor will crack the wood filler exposing uneven spaces
between the boards.
Once the wood floor sanding is complete, the floor can then be washed to remove any dust
and sanding imperfections before the next step of staining.
 (773)
7540433
(773)
7540433 contact@floorsquadchicago.com